The right solution for clinker tiles: laying technology
GF Leads, 24 July, 2025

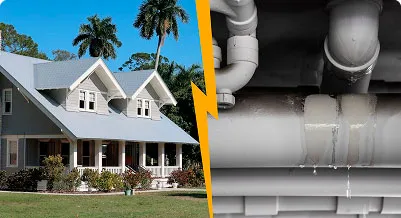
GFLeads, as a leading provider of repair services in the United States, provides expert guidance on working with clinker tiles, one of the most sought-after materials for exterior decoration.
Features of clinker tiles
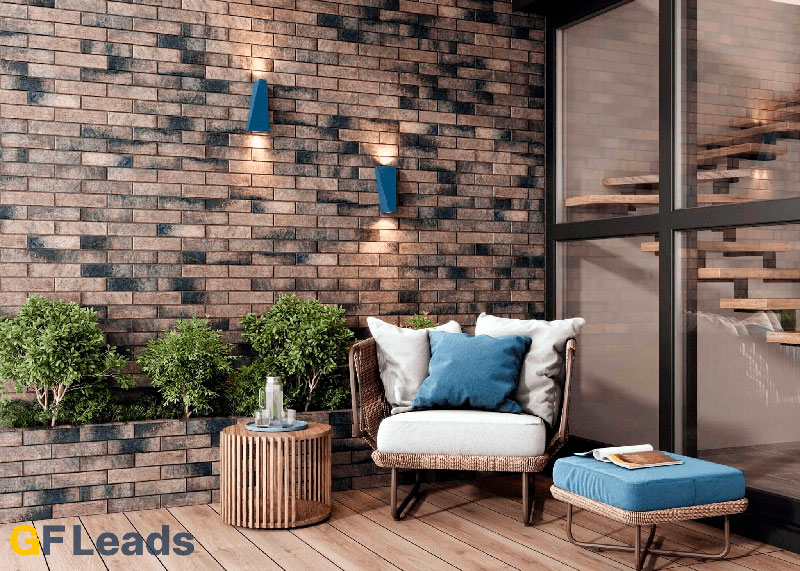
Clinker tiles are one of the most popular materials for finishing facades of buildings, terraces and other exterior surfaces. It is characterized by high strength, frost and water resistance, as well as antibacterial properties. Anyone who has decided to use this material for their project knows that a properly formed mortar is one of the main conditions for successful clinker laying. In this article, we will talk about which mortar to use for laying clinker tiles, what properties it should have, and how to form it correctly.
Clinker produced at a temperature of 1200-1300 °C has:
- Water absorption of only 0.2-6%
- Exceptional frost resistance
- Antibacterial properties
GFLeads recommends:
- To ensure quality, all our partner craftsmen receive special training in working with clinker.
Types of solutions for clinker
At GFLeads, we use only proven formulations.:
1. Cement mortar
Cement mortar is the main type of mortar used for laying clinker. Cement mortar consists of cement, sand and water. The proportions of the components depend on the requirements for strength and durability of the structure. Cement mortar with sand fractions of 0.5-1 mm is usually used for laying clinker.
- Composition: cement + sand (0.5-1 mm fraction)
- Proportions: 1:3 (cement:sand)
- Advantage of GFLeads: our suppliers offer pre-mixed dry mixes with optimal characteristics
2. Polymer solution
A polymer solution is a solution consisting of polymer binders, quartz sand, and modifying additives. The polymer solution is highly resistant to various aggressive environments, including atmospheric influences, moisture, frost and aggressive chemicals. The polymer solution can be used for laying clinker on the facades of buildings and structures in extreme conditions.
- Contains modifying additives
- Ideal for extreme conditions
- Special offer from GFLeads: 15% discount on polymer formulations for registered craftsmen
3. Plaster mixes
Plaster mortar is a mortar based on cement, sand and lime or lime milk. Plaster mortar is usually used to seal joints between bricks or stones when laying clinker. The plaster solution helps to improve the adhesion of the clinker to the substrate and increase the strength of the structure.
- Improve adhesion
- Recommended for complex substrates
- Technology of solution preparation
Our craftsmen follow a strict protocol:
- Dosing
- Accurate scales for components
- Sand moisture control
- Mixing
- Using professional mixers
- Gradual addition of water
- Quality control
- Checking the adhesion
- The spreading test
GFLeads Pro Tip:
- For clinker, we recommend adding latex additives - they increase the elasticity of the solution by 40%.
Laying process: GFLeads standards
Regardless of the type of mortar you choose, you must follow a number of general rules when connecting components. If you have no experience in laying clinker tiles, it is important to practice and master the technology of mixing mortar. You can prepare the solution either manually using a trowel and a container, or using a special mixer. To create a cement-sand mixture, three parts of sand per part of cement will be required, with the addition of water until the required density is reached. For example, you can use about 6 liters of water per kilogram of dry mix.
For an elastic solution, it is recommended to use special plasticizers, stirring until uniformity is achieved. Phosphate solutions are usually supplied ready-to-use, requiring only dilution with water to the desired consistency. Regardless of the type of solution used, it is important to make sure that all the ingredients are thoroughly mixed and that the consistency of the mixture is uniform, not too liquid and not excessively thick. High–quality preparation of the solution is a key stage of work. When mixing the solution, a number of important points should be taken into account:
- To mix the components, use a shovel, whisk, or concrete mixer.
- Do not add water to the already prepared solution, but only during the mixing process, gradually, until the desired consistency is obtained.
- Do not pour out all the ingredients at once. The solution should be prepared in stages, in small portions, providing sufficient moisture to increase plasticity.
- Stir the solution until it is completely homogeneous.
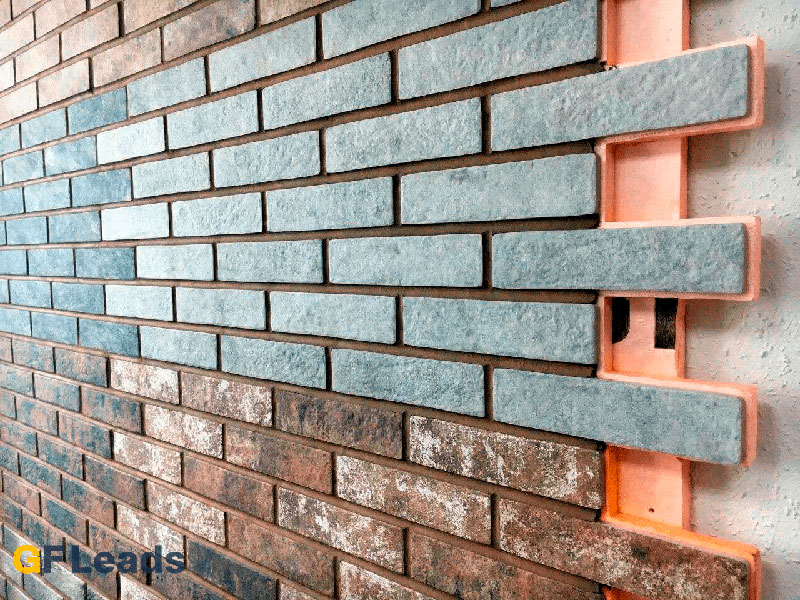
After preparing the mortar, you can start laying tiles. Before laying, it is necessary to clean the tile surface from dirt and degrease it. To do this, you can use special detergents or a regular soap solution. Then use a spatula to apply the mortar to the tile surface and spread it over the wall. After applying the solution, let it dry a little (usually up to 30 minutes) so that it acquires sticky properties. Then press the tile firmly against the wall, carefully aligning its position.
After laying the tile, it is necessary to remove excess mortar from its surface. To do this, use a damp sponge or cloth. It is important to prevent the mortar from drying on the tile, as it will be difficult to remove.
To ensure smooth seams between the tiles, use special crosses or wedges. They will help maintain the same distance between the tiles and create a neat appearance of the masonry. After the solution dries, the crosses or wedges must be removed.
Grouting is the final stage of tile laying. The grout not only gives the masonry an aesthetic appearance, but also protects the seams from moisture and dirt. Before grouting, make sure that the mortar is completely dry. The grout can be applied using a rubber spatula, carefully filling all the seams.
After applying the grout, remove excess grout from the tile surface with a damp sponge. Allow the grout to dry according to the manufacturer's instructions. It usually takes from a few hours to a day. After the grout dries, you can polish the tile with a dry cloth to make it shine.
Proper preparation of the mortar and compliance with the technology of laying tiles is the key to the durability and aesthetic appearance of your cladding. Take your time, carefully perform each stage of the work, and you will definitely be pleased with the result.
Let's fix the stages in order:
- Preparation of the foundation
- Priming
- Alignment
- Applying the solution
- With a notched trowel (6-8 mm)
- The open time is no more than 20 minutes
- Fixing the tile
- Using wedges
- Plane control
- Grouting of joints
- After 24-48 hours
- Special trains
- Important: All our partners provide a guarantee for working with clinker.
Why choose GFLeads?
For craftsmen:
- Access to exclusive materials
- Learning new technologies
- Guaranteed orders
For clients:
- Trusted experts
- Quality control at all stages
- Fixed prices
For partners:
- Up to 20% of the order price
- Marketing support
- Personal Manager
The right mortar is the basis for the durability of clinker cladding. GFLeads offers comprehensive solutions:
- Professional materials and training for craftsmen
- Clients - guaranteed quality of work
- Partners - favorable terms of cooperation
Join GFLeads today and get:
- Free sample of professional mix
- The consultation of our technologist
- 10% discount on the first order
- GFLeads - we are building the future together with you!
Table of content
- Features of clinker tiles
- Types of solutions for clinker
- Laying process: GFLeads standards
- Why choose GFLeads?